From September 3rd through the 6th, my wife and I attended the 34th National Narrow Gauge Convention in Kansas City, Missouri. This was my first experience at a national model railroad convention of any sort, and I thoroughly enjoyed it They have a beautiful new center in KC attached to a Sheraton Hotel, so the convention facilities were outstanding. This backside view doesn’t really do the exterior justice, but we stayed at the Hilton Garden Inn next door, and this was my view each morning as I walked to the convention center.

The main registration/information desk was in the west-facing foyer of the convention center.

The clinics for the convention were conducted in rooms at the Sheraton, which were just a short covered walkway to the west.

A spacious and inviting, east-facing lower lobby in the Sheraton led to the clinic rooms. Most days there were five clinic choices, spaced at 90 minute intervals, 8:00 am to noon, and 6:30 pm to 10:30 pm. The afternoons were free for local layout visits, that we scheduled on an individual basis. I usually tried to attend two morning clinics, and two evening clinics. I was able to see an average of 4-5 layouts on each of the afternoons of Wednesday, Thursday, Friday and Saturday. There were 51 layouts available to see, so I had to choose judiciously.

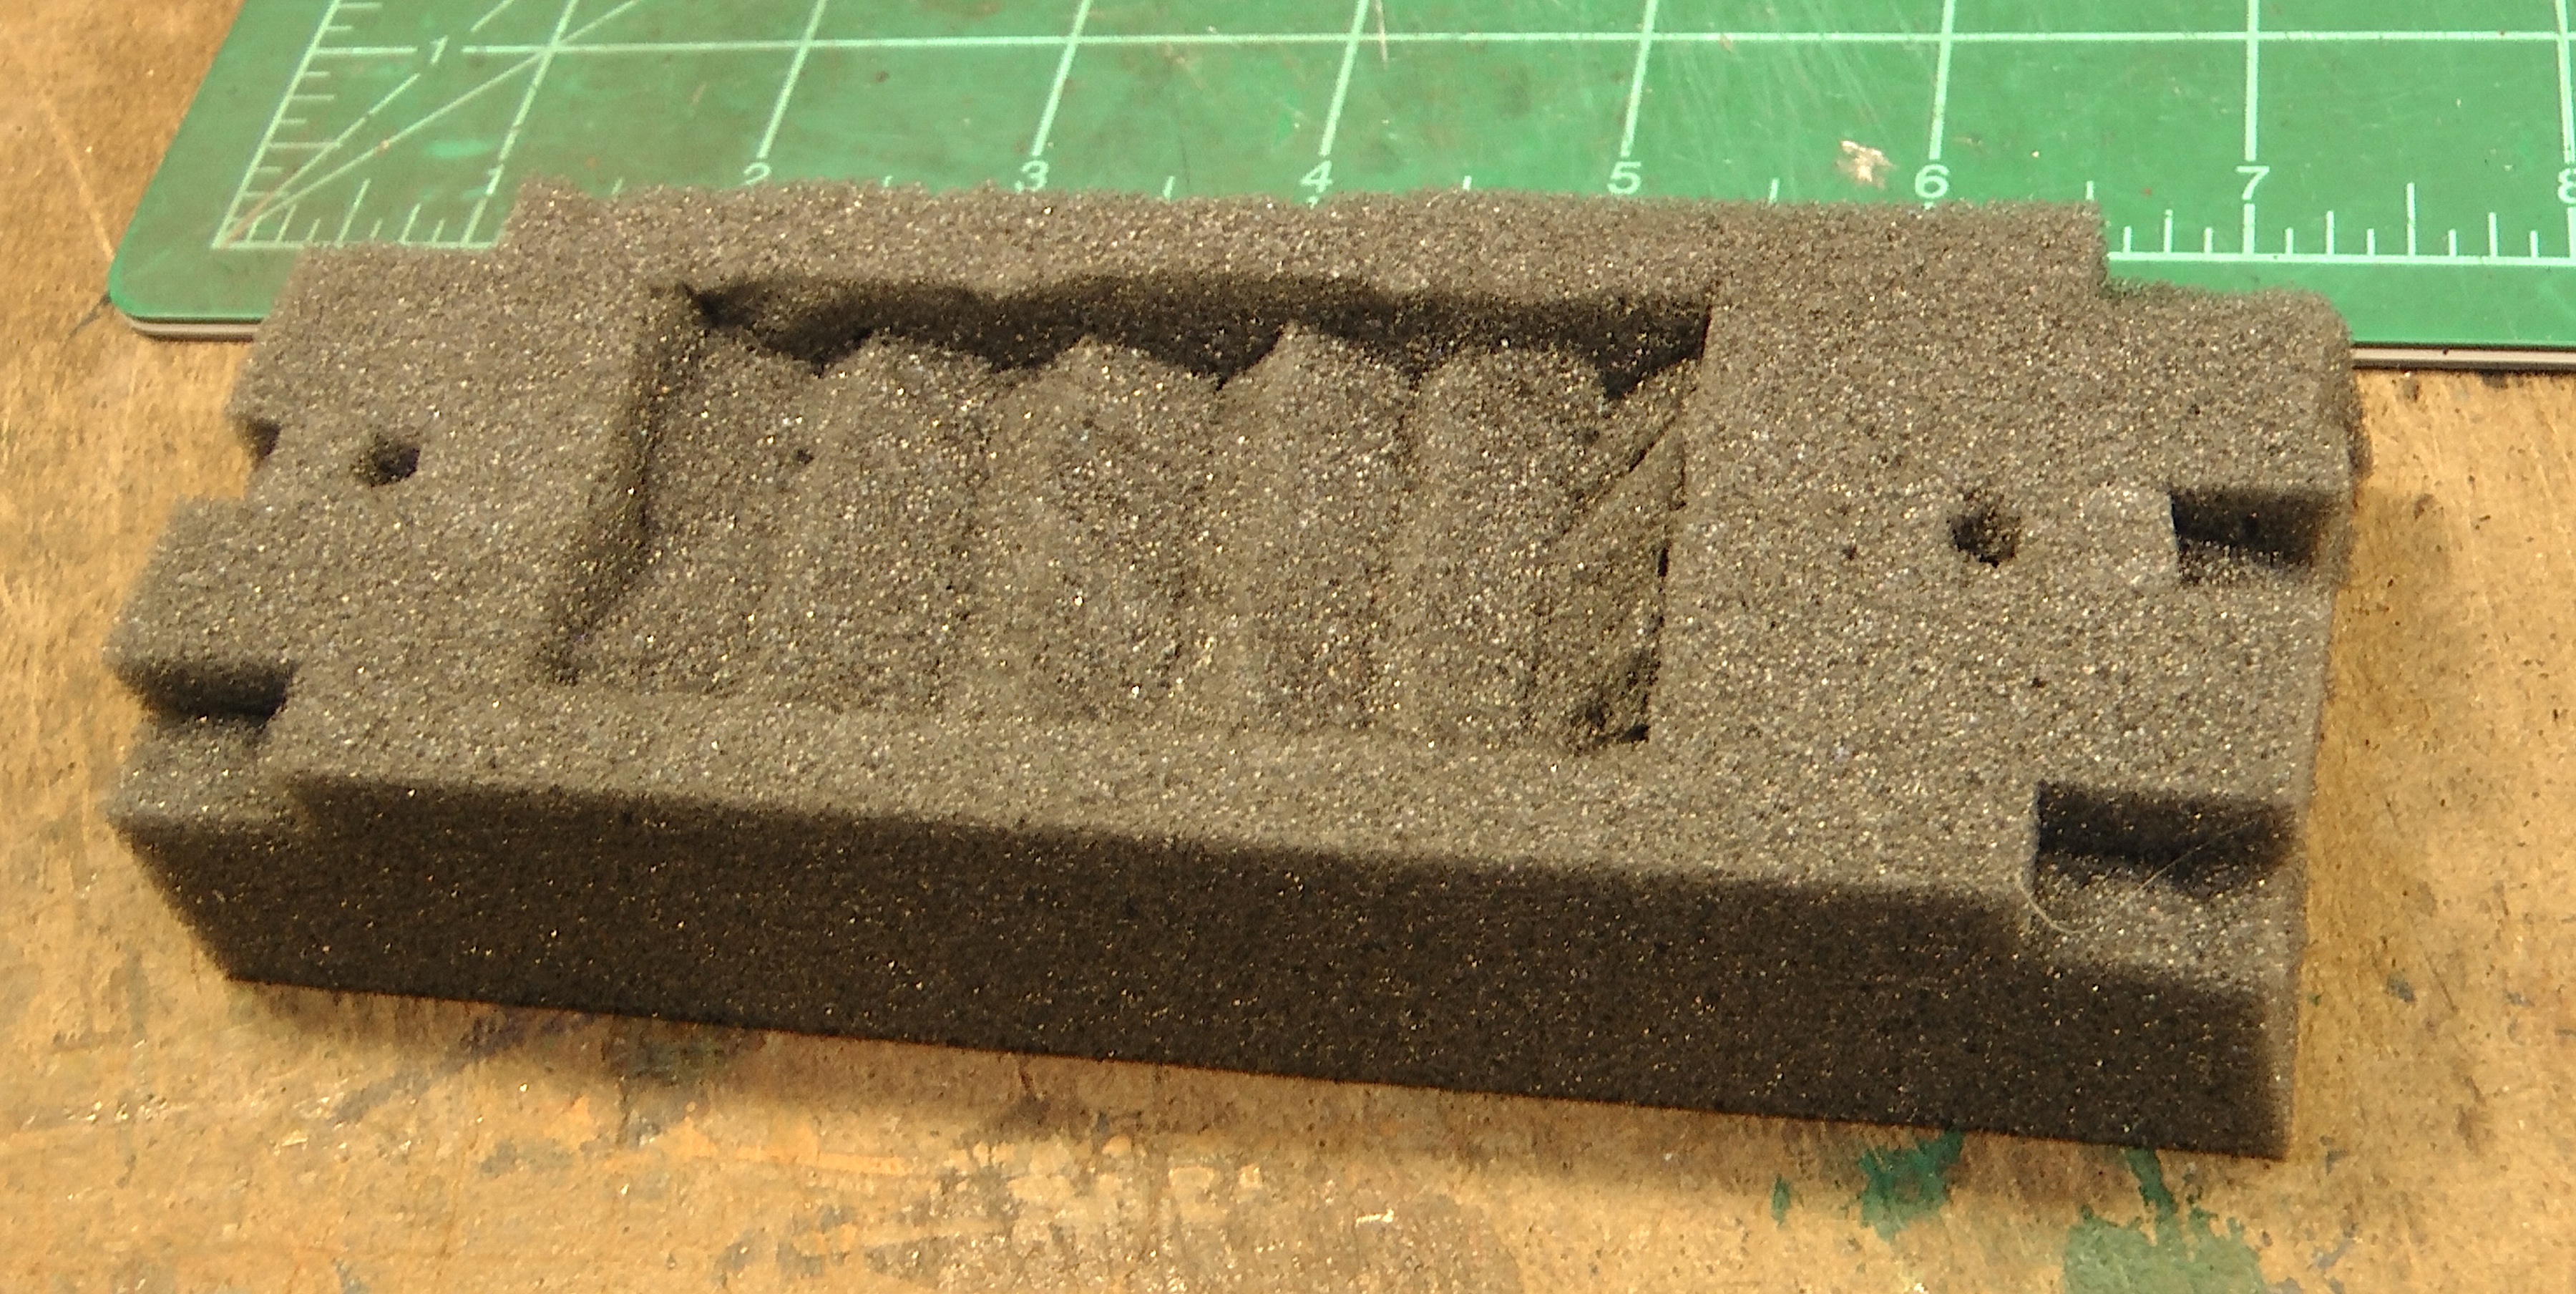
I didn’t take pictures at every clinic I attended, but this is Joel Bragdon of Bragdon Enterprises talking about his geodesic foam scenery techniques. I have to say that with my concern about putting too much weight up in my layout loft, his materials make a whole lot more sense than plaster. There’s a bit of a learning curve for those of us who have always used plaster in rock molds for scenery, but I think it will be worth the effort.

Another presenter I photographed was Sam Swanson who gave a nice presentation on kit-bashing a small diesel critter, and modifying and painting figures. You can see the substance of his talk (about the critter, at least) in the 2013 edition of the On30 Annual.

A part of most national conventions is a contest room, and for this narrow gauge group there was an interesting category called the “one square footer”.

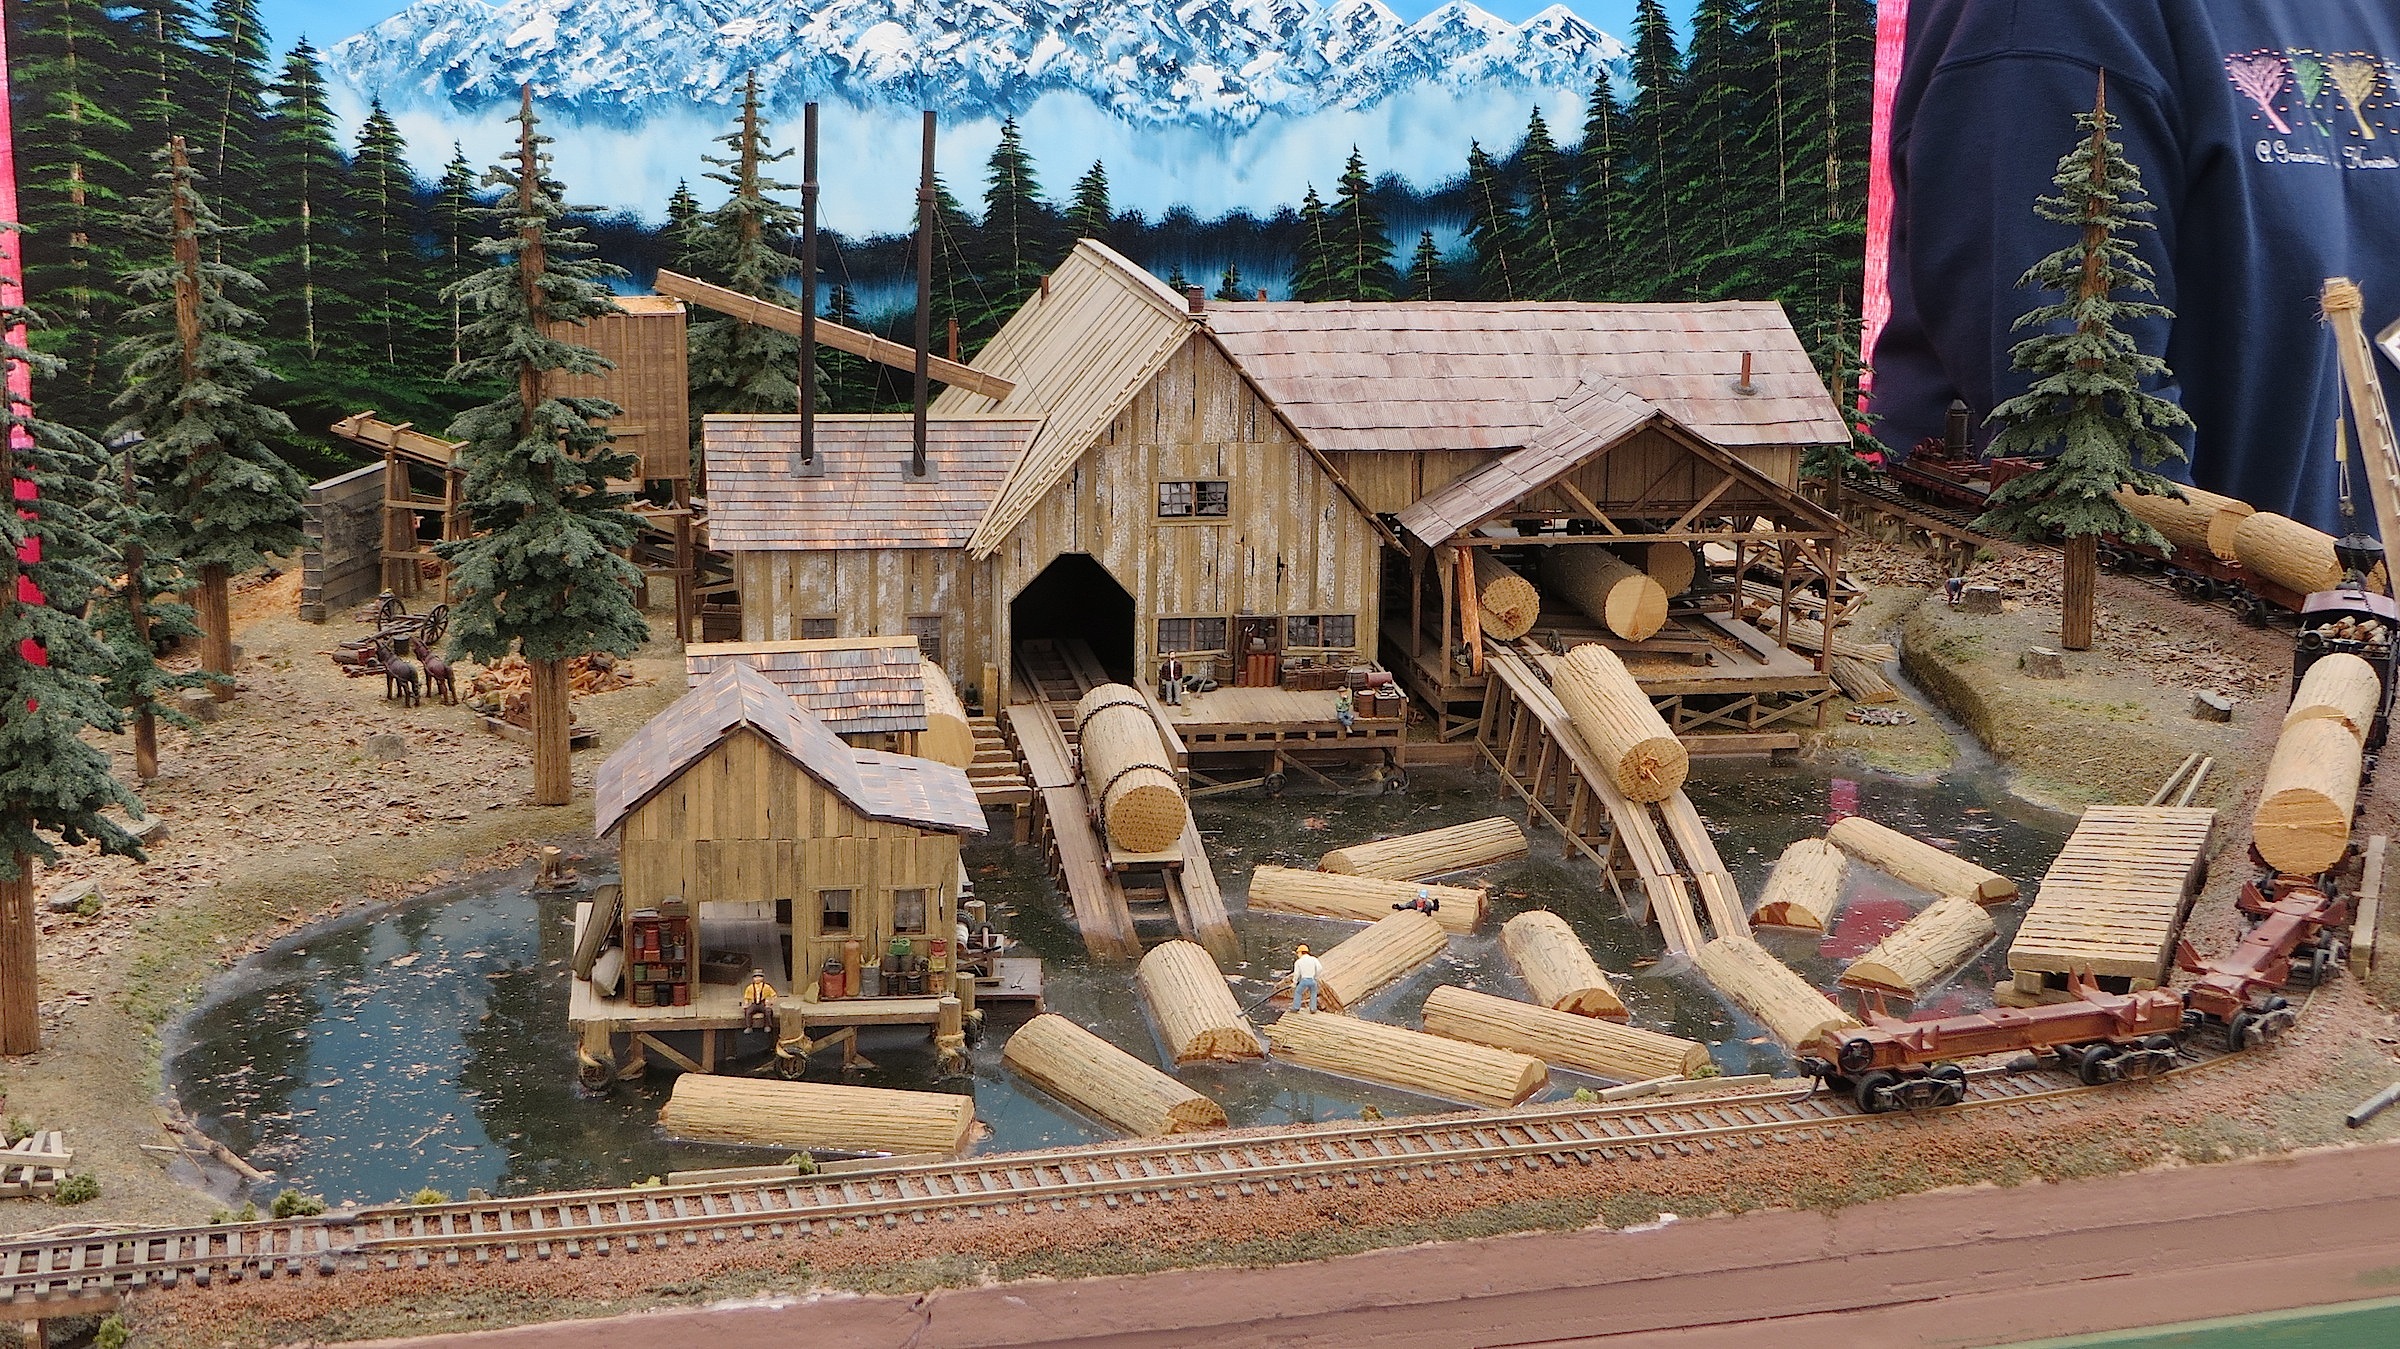
I can’t show pictures of all the dozens of contest entries (although, believe me, I took them), but this was a large HO scale diorama with a level of detail that must have taken years to achieve.

Detail can be found in small spaces, too, as we see in this nicely executed diminutive snow plow.

It seems that the more dilapidated, run-down and neglected something is, the better we narrow gaugers like it. Evidence this crumbling shed with its burnt out shell of a rail car, which won several awards, including Best in Show.

There was an exhibit hall that had to be 100 yards on a side. This plan shows the arrangement and location of all the vendors and modular layouts.

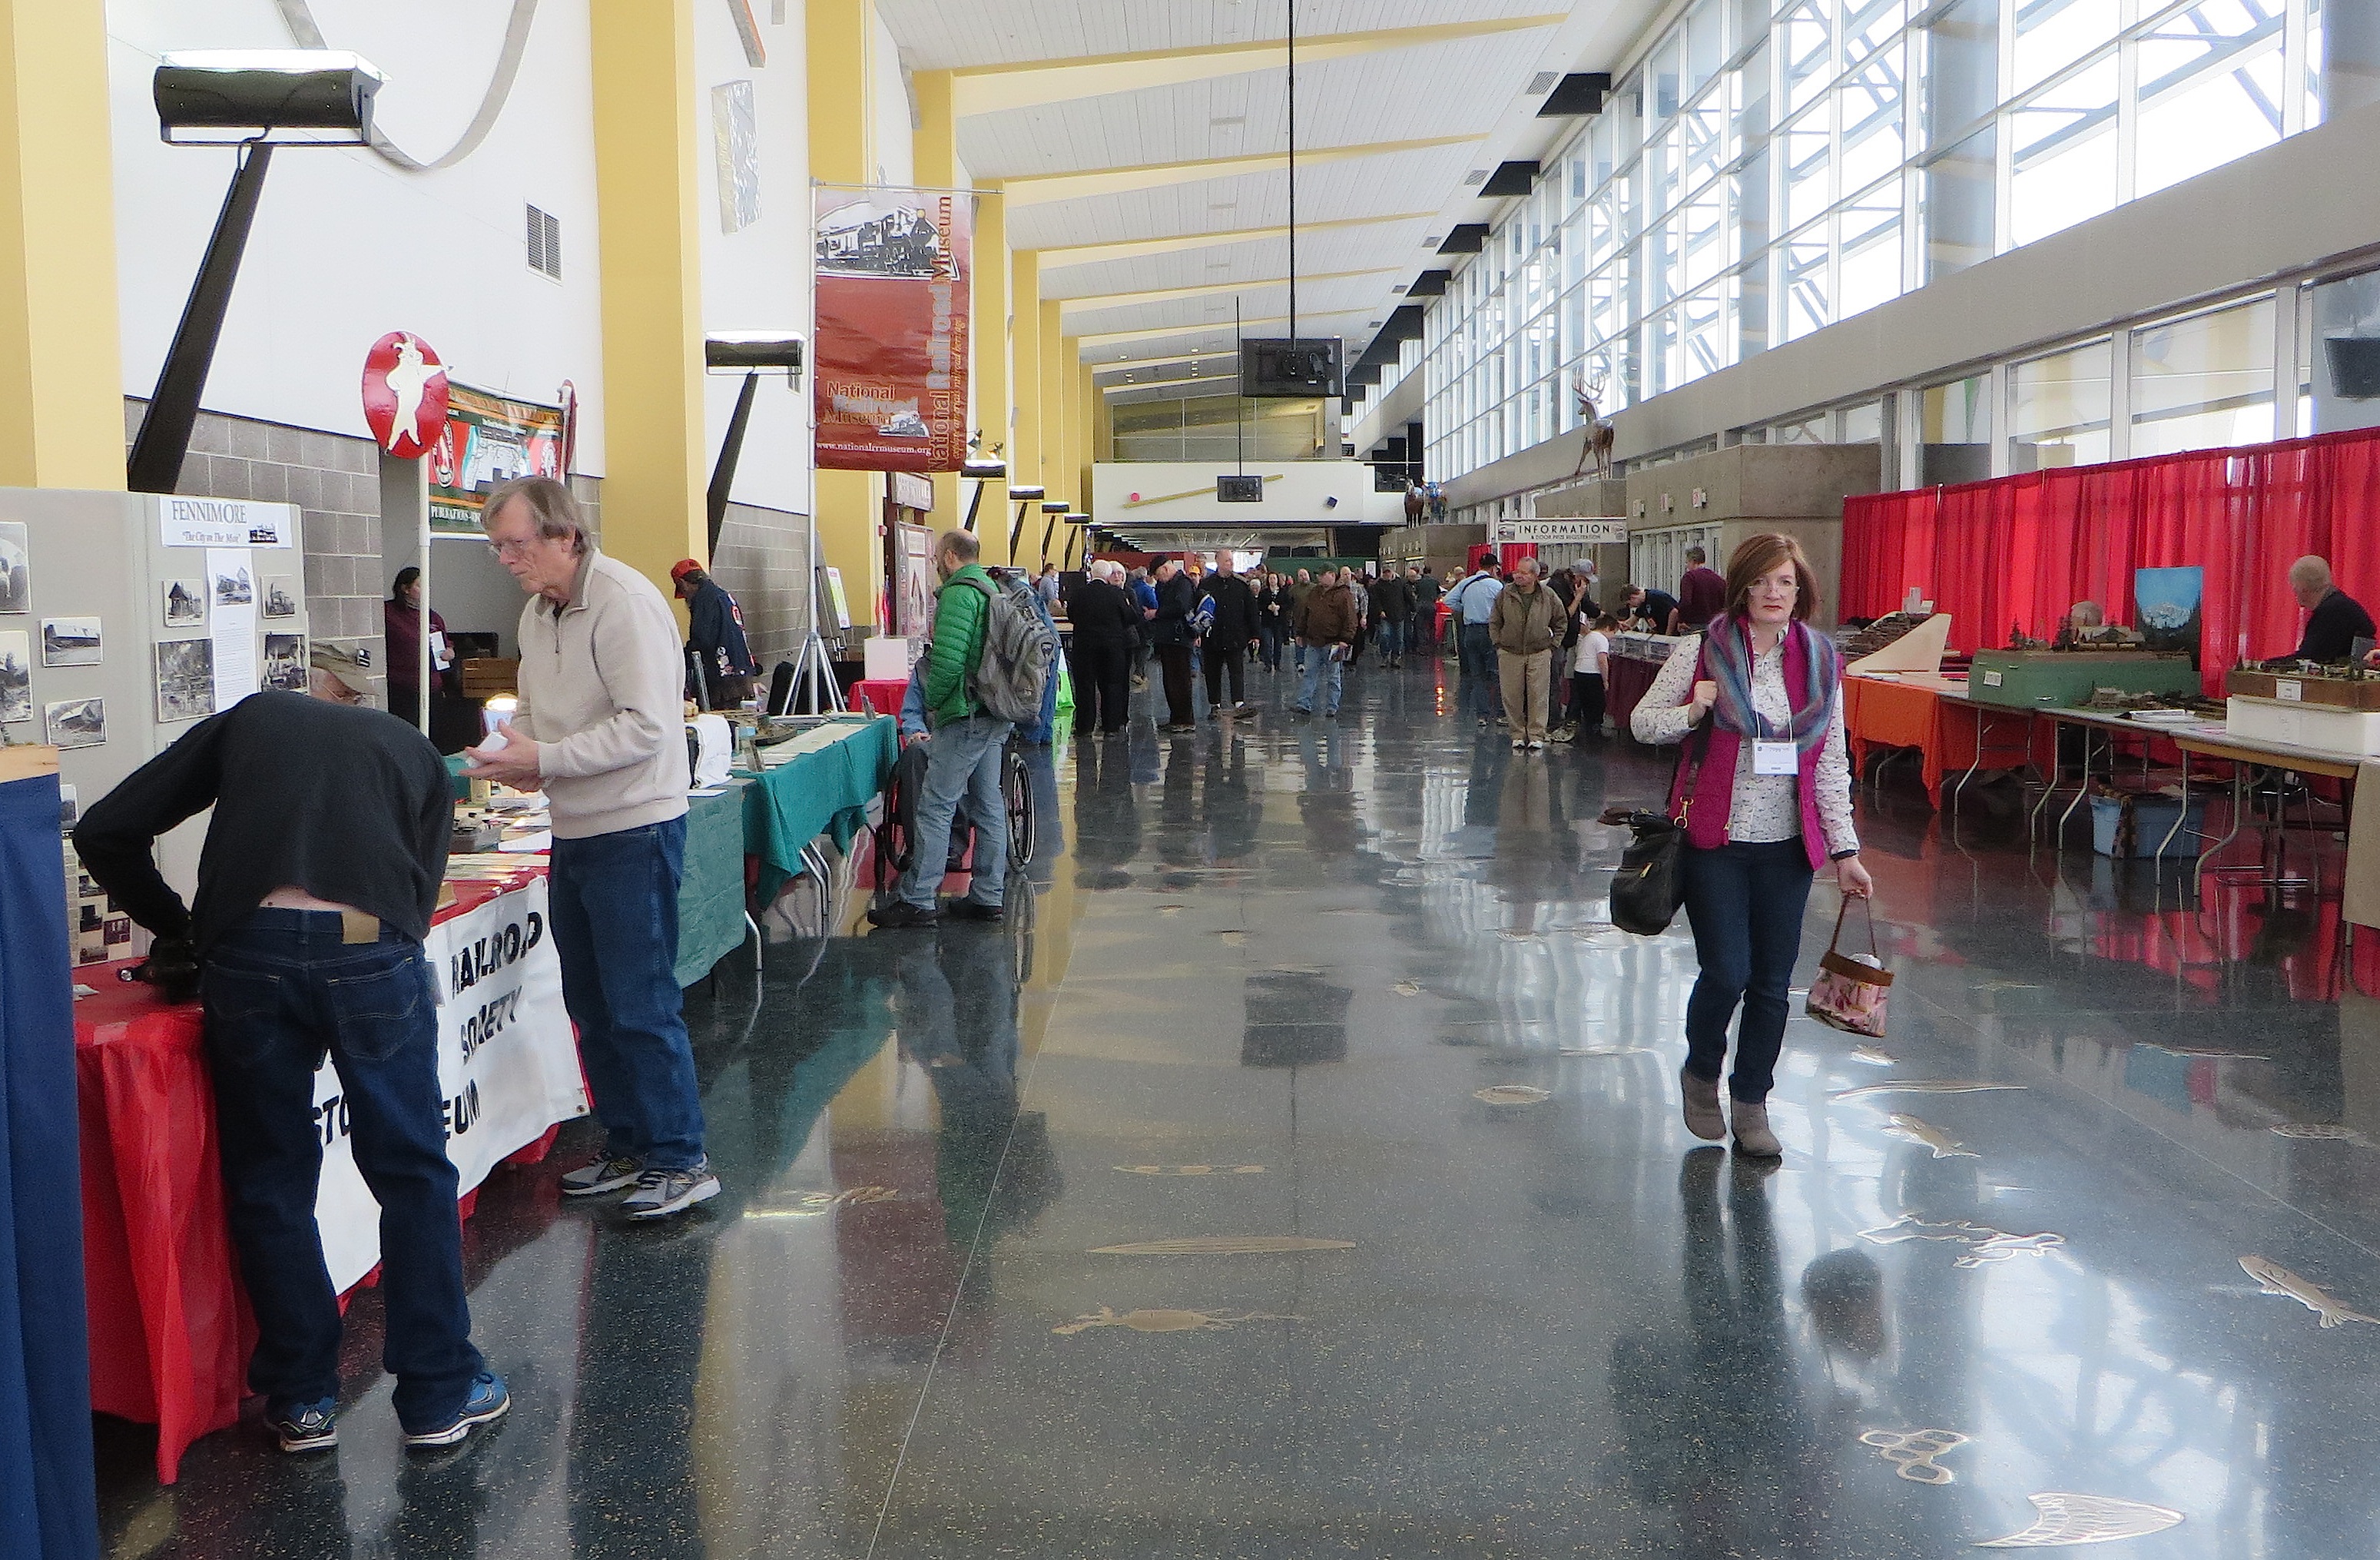
From the entrance door looking left.

From the entrance door looking right.

A restored Model T Ford that was actually used on the D&RGW.

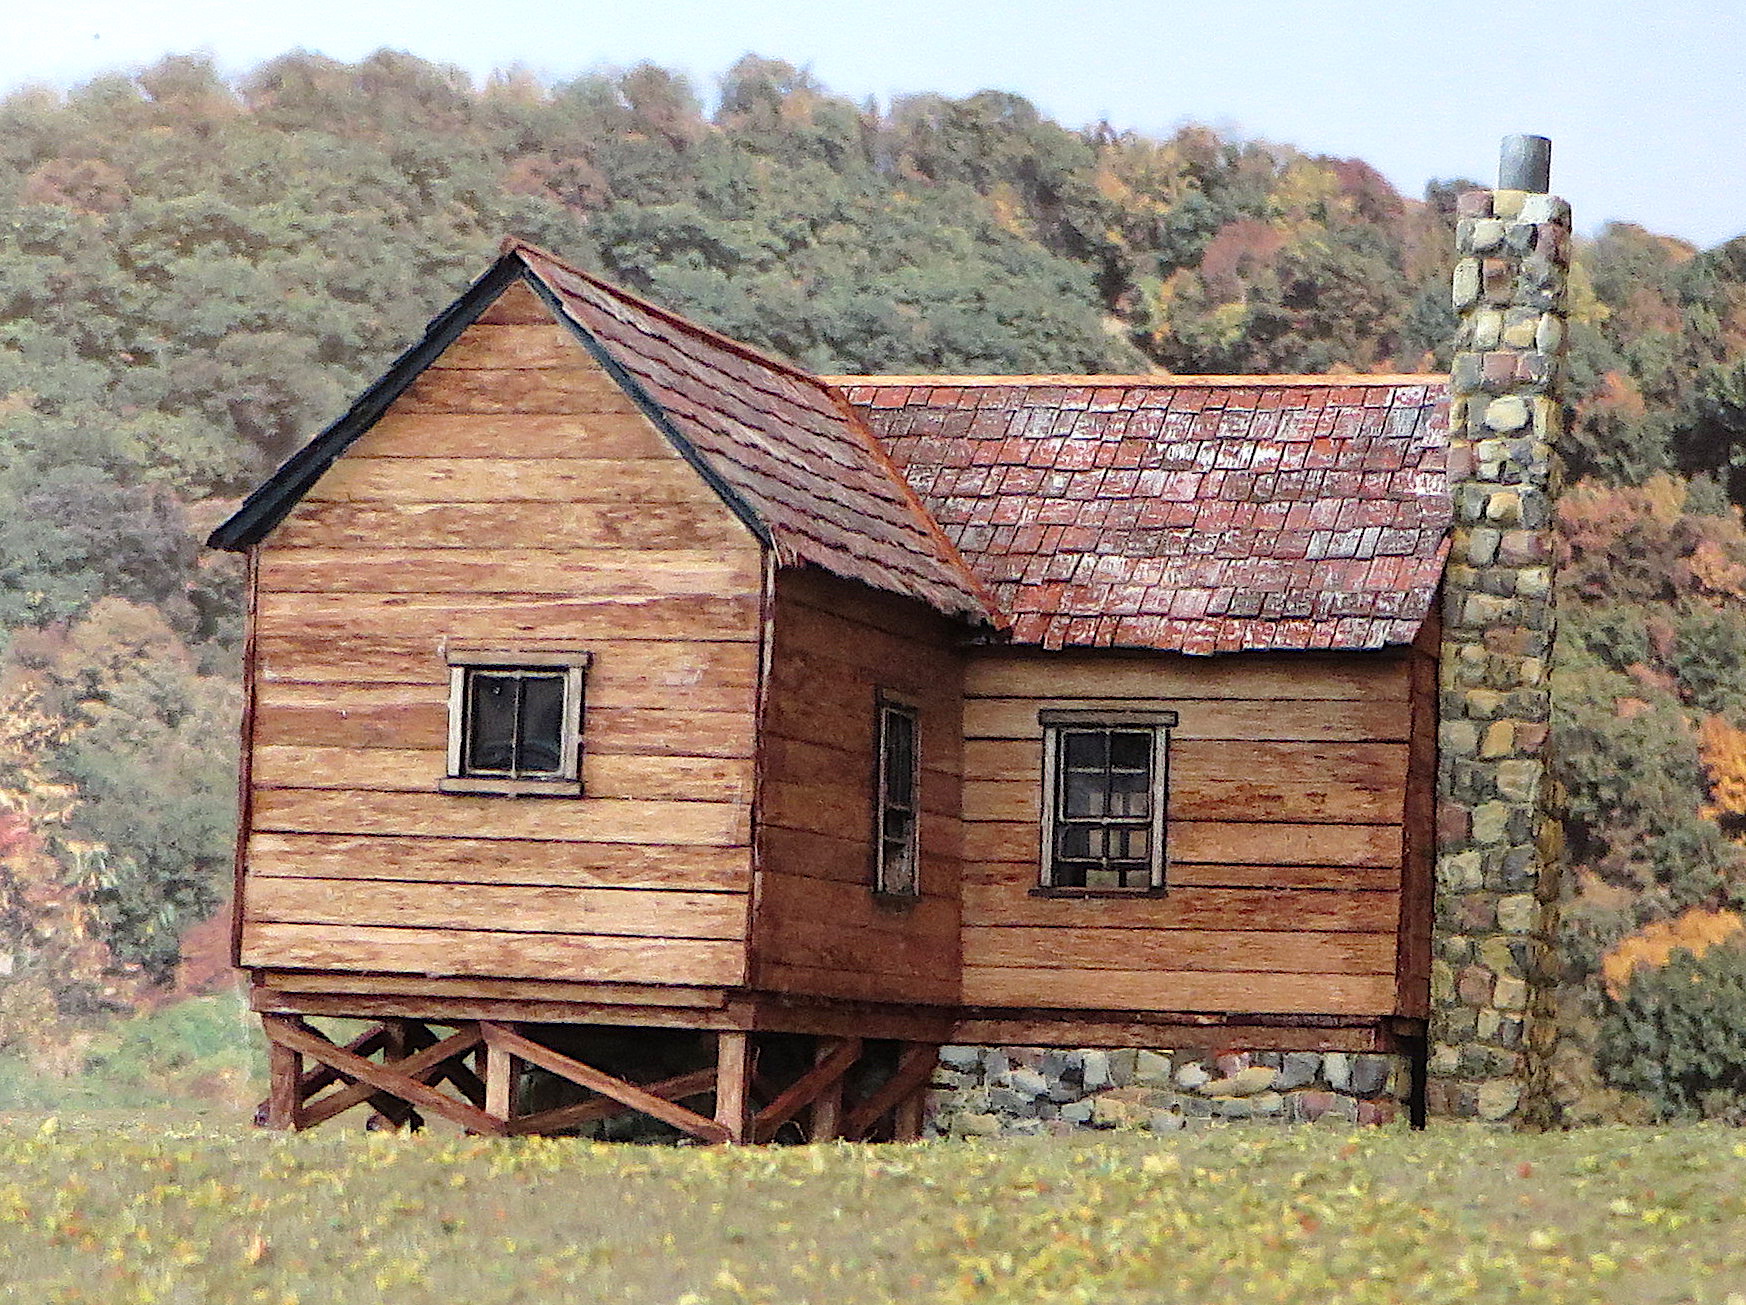
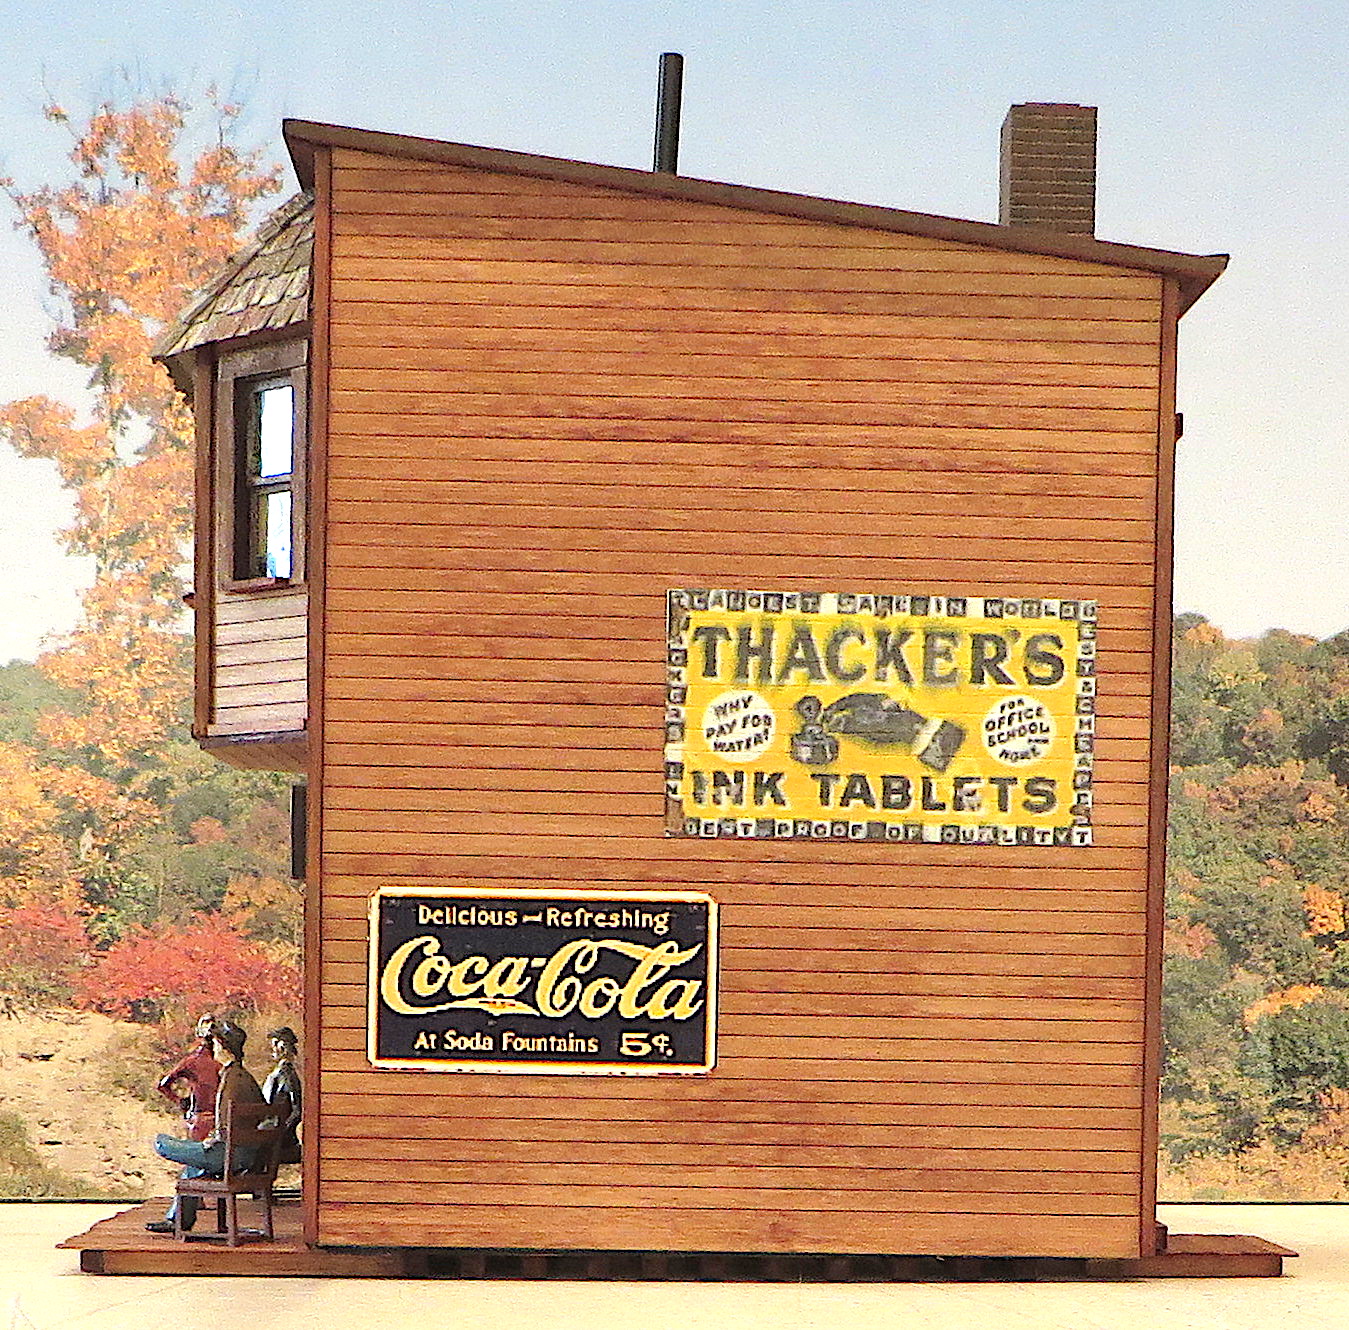
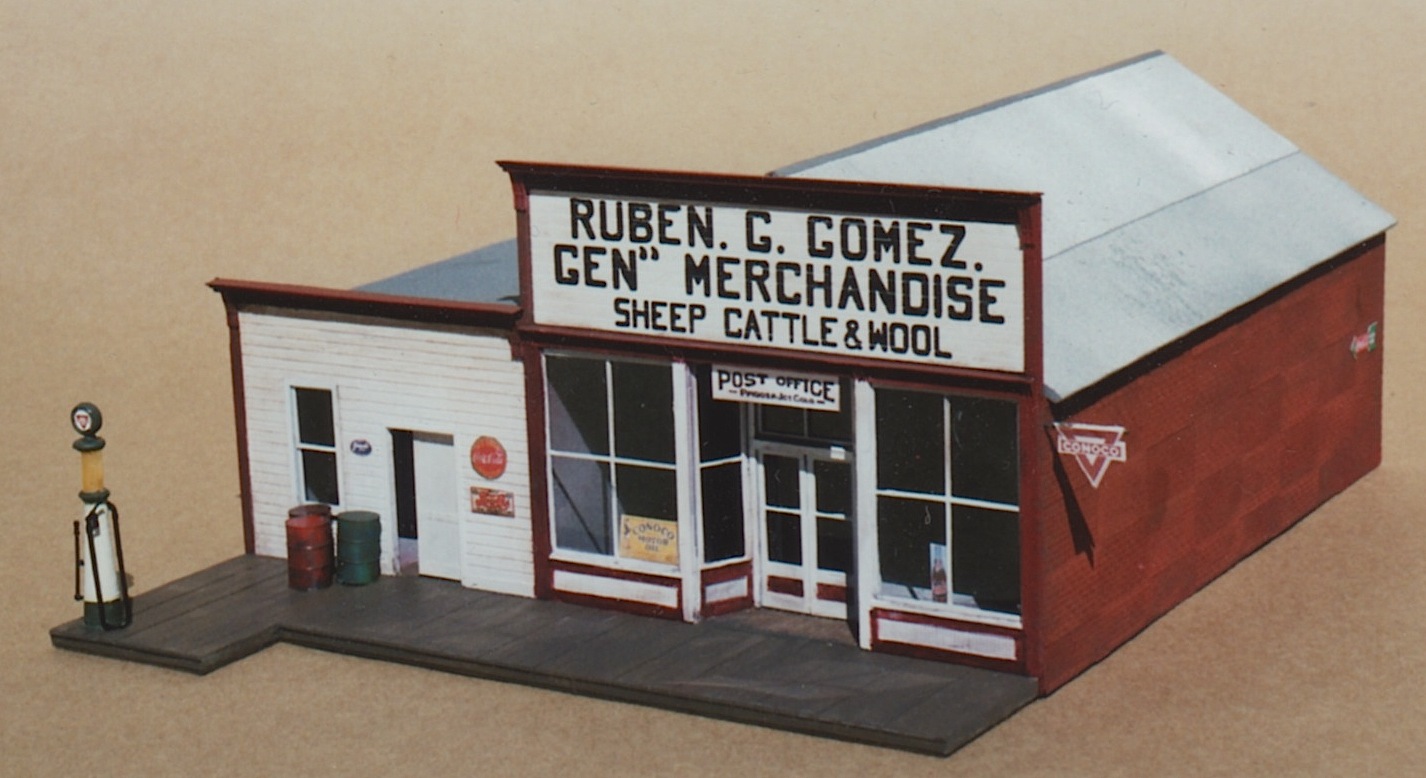
The sheer quantity of things at a convention like this defies description. A small sample of the hundreds of vendors on hand included Wild West Scale Model Builders with their gorgeous craftsman structure kits. I’m going to put some S-scale and HO-scale buildings in the background in Durango to force the viewing perspective.

Hunterline Products was there with their stunning bridgework in all the popular scales.

Banta Modelworks had many of their fine laser cut structure models on display. The nice thing about a convention like this is that you can see these products with your own eyes. It really helps you to choose what will work best on your layout.

One company that has only been around for a short time is Clever Models. They’ve taken an old modeling technique, the use of paper or card-stock, and elevated it to new heights. All of the models in the foreground here, and the complete layout behind are made from their paper products.

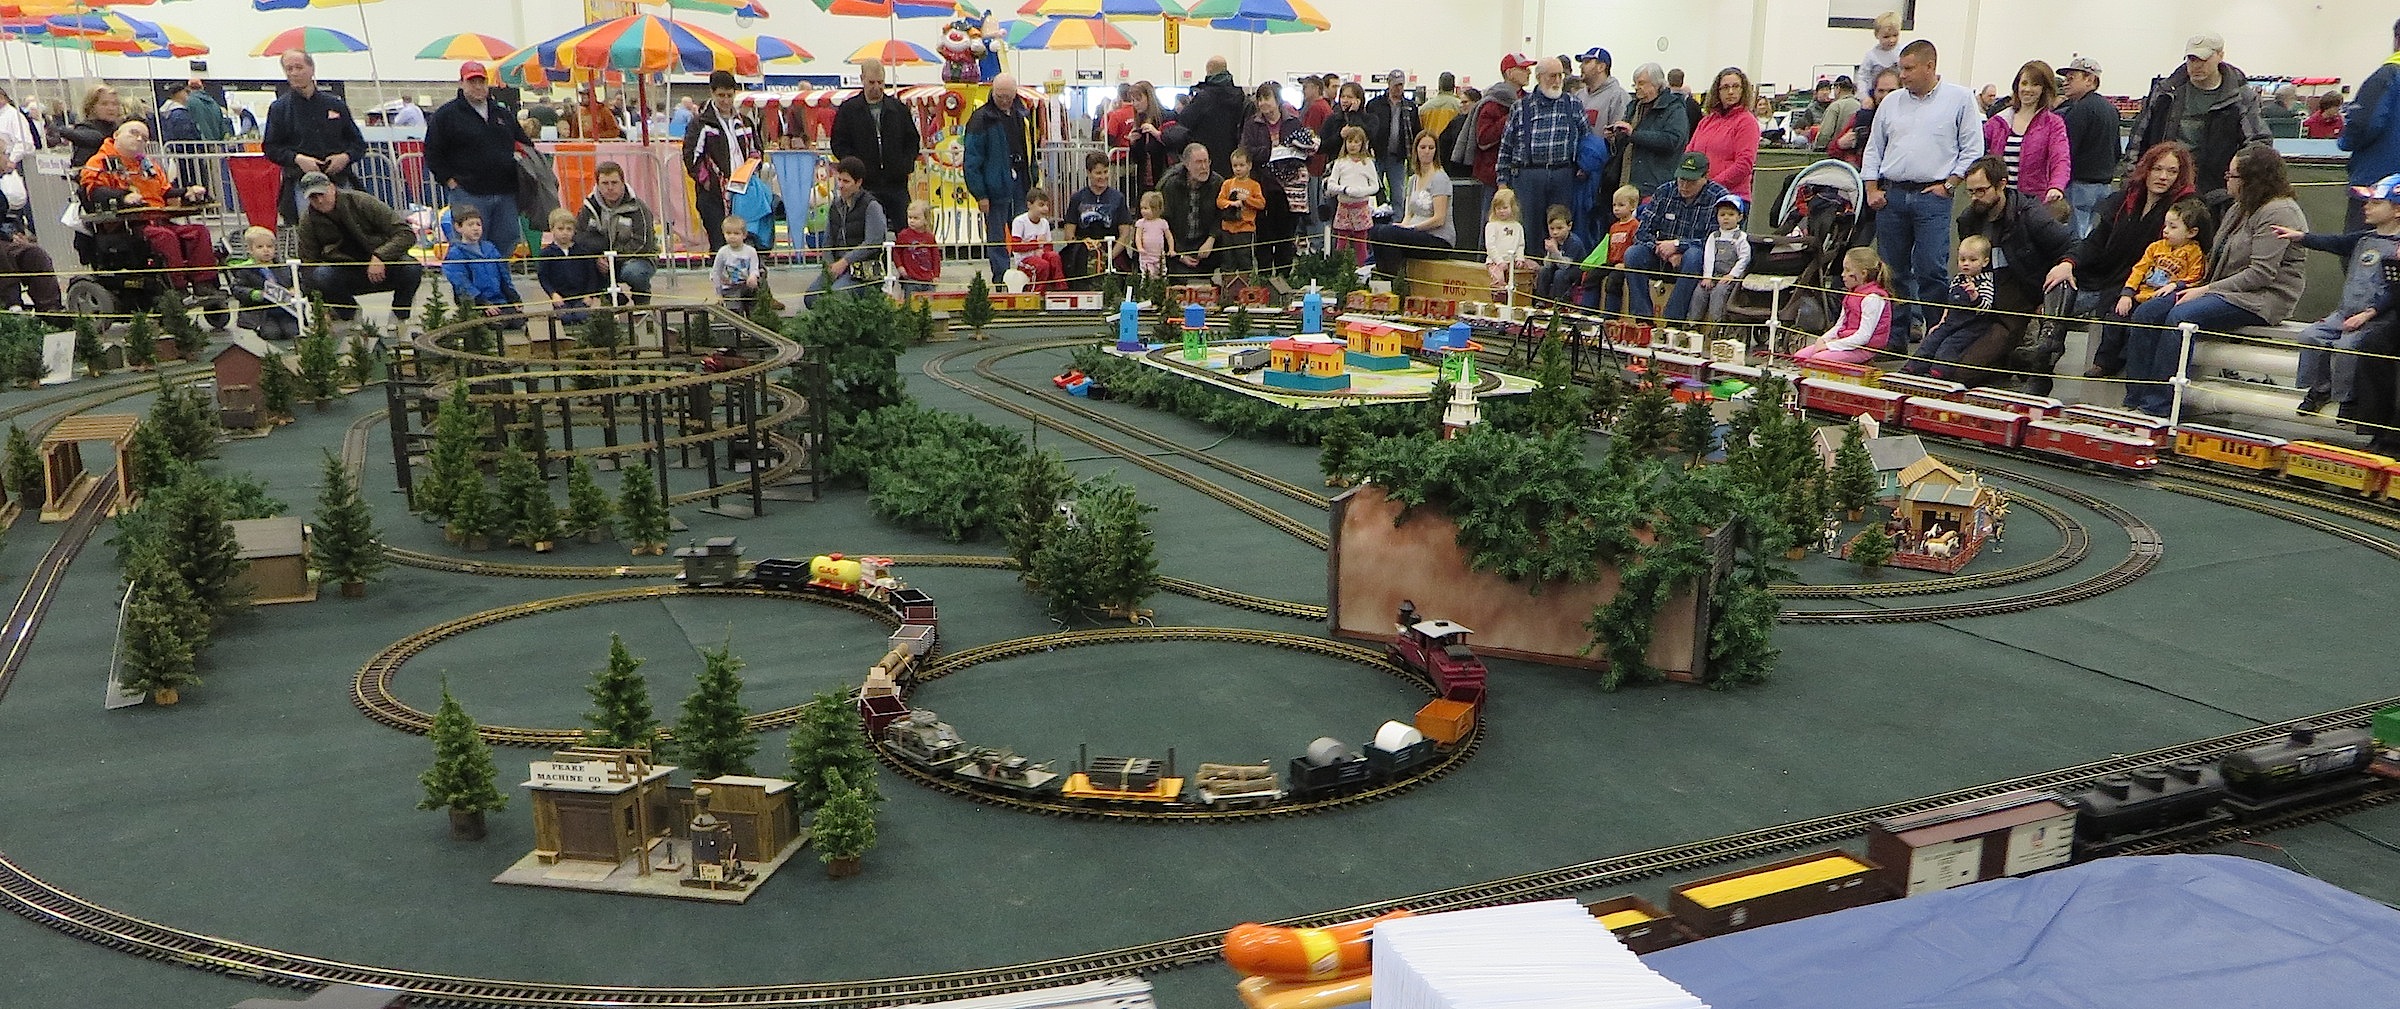
Dozens of modular layouts adorned the exhibit hall. Although not modular, this tiny jewel of a layout has to be one of the smallest working O scale narrow gauge layouts I’ve ever seen.

At the other end of the spectrum is the world-famous Sundance Central layout from Florida. This giant masterpiece in 1:20.3 scale deserves several hour’s perusing.

Every time you turn around you see well known people from the model railroading community. Here’s Joe Fugate (in the black t-shirt) of Model Railroad Hobbyist Magazine.

My afternoons were filled with learning to navigate Kansas City, on both sides of the Kansas/Missouri border. I use a Magellan GPS, but even the most sophisticated modern technology doesn’t always get you where you want to go. I took hundreds of layout pictures, and these are just a very small sample. Dr. David Jacobs has a completely finished dual gauge layout featuring On30 and O scale three-rail trains. His layout room was also the most inviting and comfortable space I saw all week.

Another layout which is finished to a large degree is Steve McKee’s RGS & D&RGW RR. This On3 pike fills a 2200 square foot basement. Again, comfortable surroundings provide operating crews with an inviting atmosphere in which to work.

The Stockton & Copperopolis of Don Ball had the most authentic late 19th century dispatcher’s desk on display this week. Even the telephones along his main line featured the early scissors-mount apparatus.

I saved the outdoor layouts for Saturday, and was blessed with wonderful 70 degree, sunny, weather. The Rock Creek Railway of Doug and Nancy De Berg features this full size railway station. That’s right, that’s not their house, it’s their railway station!

Their track plan is only about 50% complete, but what is there meanders through some appealingly manicured scenes.

Their 7.5 inch gauge layout hosts both live steam and gasoline powered diesels.

The club-size private layout of Gail Gish is called the Rio Grande Scenic Railroad.

1/8″ scale live steamers abound on this wonderful pike.

Gail’s railroad features over 5,000 feet of dual gauge track.

The Big Creek & Southern RR of Pat McCarthy is truly of amusement park scale. This layout occupies 13.5 acres; that’s right I said acres!

The track is all complete, and much of it sports CTC control with signal bridges and lights. He runs both live steam and diesel powered locomotives.

There are also full-size railroad pieces like this mast and signal light.

Much of this layout is four track main line, as you can see from my passenger’s seat on this train.

A transfer table allows visiting engines and rolling stock access to the railroad.

Although many modelers and vendors had left by Saturday night, the closing ceremonies were well attended by a good representation of the over 1,500 narrow gauge modelers who took part in this year’s convention. A great speech was given by Charlie Getz of the Narrow Gauge & Short Line Gazette. Bob Brown, long time editor of the Gazette was also present.

I’m going to close with a topic that has often been discussed in our hobby, and although I probably can’t shed any new light on the subject, I thought I’d air my thoughts.
Looking around at this convention I didn’t see too many people who looked younger than 50 years of age, and the majority probably topped 60. One railroad owner on the layout tour was 91 years old. I’m happy to say he was spry and in complete possession of his faculties. He was a delight to talk to.
So, the topic of the aging model railroad community comes up often. Charlie Getz mentioned it in his closing speech. Maybe the hobby has always been dominated by retirees. Certainly most of us of a certain age have more time and wherewithal to engage in something like this, and that might explain the average age of the serious model railroader.
But can we depend on a continuous flow of senior citizens to sustain the hobby? Is it really true that fewer and fewer young people are coming into model railroading?
We need to examine how we first got interested in modeling to see if today’s youth are exposed to the same things that led us to enjoy playing with small trains. Let’s face it; that’s what we do!
Back in the 1950s, when I grew up, we often considered rail passenger service as a viable option when we wanted to take a trip. I even took my first train trip in the late 1940s. I think it was on the New York Central from Cleveland to Chicago. I was only about three, but I remember the grey-green color and the fuzzy texture of the passenger car seats. I even remember a stranger offering me a stick of Spearmint gum. I often traveled by train in the late 1950s and early 60s before I could afford a car. Rail passenger service in this country today can hardly be considered a common mass transit option.
What did we see around us? I frequently saw steam locomotives and interurban electric “doodlebugs” between Peoria and Bloomington, Illinois when we made our weekly Sunday car trips to visit my mother’s sisters. Trains were a part of our lives in a way that just isn’t the case for today’s youth. All of us in the hobby, almost without exception, credit our first Christmas train set for jump-starting our interest in model railroading. My first set was a Marx wind-up train. What percentage of today’s kids dream of that Christmas train, as opposed to the newest computer game or action figure?
So what’s the answer? That, as they used to say, is the $64,000 question.
I do have to say that when I go to model railroading shows representing the Minnesota Transportation Museum or Yard Goat Images, I see a lot more young people and families with small children at those events than I did at this convention, so I hope that bodes well for some level of regeneration for our hobby.
And, although “Thomas” is the little train we all love to hate, I think he has done yeoman service for the future of our hobby, because he introduces kids to the steam trains they will rarely be able to see in the real world.
Here in the Twin Cities, we have a program on Public Television called “The Choo-Choo Bob Show”. It is sponsored by a hobby shop of the same name, and the show won three Upper Midwest Regional Emmy Awards in 2013. This is just the kind of programming that will help develop future model railroad enthusiasts.
We know that our love of trains started at an early age, and was due to our exposure, in one way or another, to trains in the real or fictional world. We need to do everything we can to help see that today’s young people have that same opportunity.